| Difficulty Level | Estimated Cost | Duration |
|---|---|---|
| 9 out of 10 | $5,000-$15,000 | 2-4 weeks |
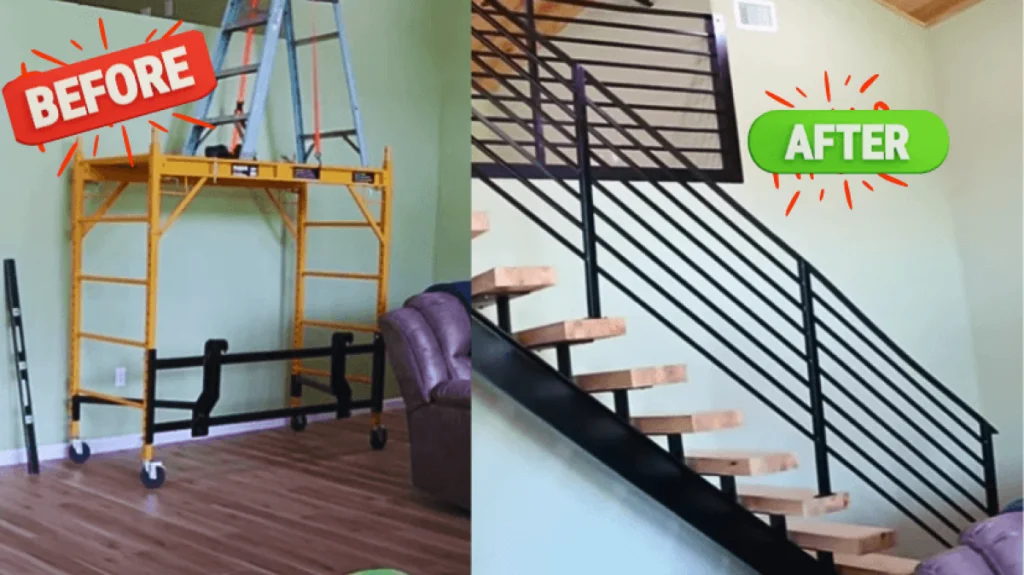
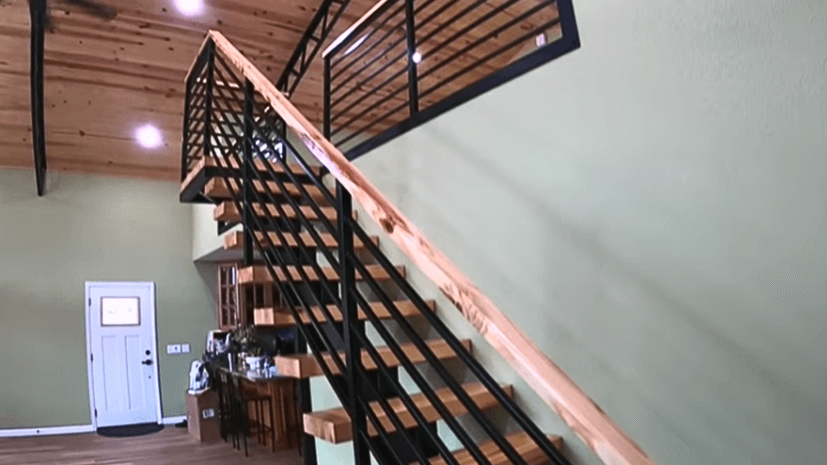
If you’re looking for a beautiful feat of architecture, then floating stairs are an excellent option to choose. The support systems have been concealed, allowing the piece to become a work of art in your home.
But unfortunately, building floating stairs can be a nightmare due to its exceptional architectural skills. Some people think it’s time-consuming as enormous metal beams are cumbersome to lift and will never complete on the first day.
In this article, we’ll teach you how to build floating stairs with metal railings in your home. You will require multiple weeks to complete this project, but our guide will assist you in the process. Therefore, you’ll be able to accomplish the impossible with our assistance.
Part 1: Tools and Materials Needed For This Project
Tools
● Planers
● Applicator Brush
● Wood Working Triangle
● Pile
● Chisel
● Lumber
● Clamps
● Wrench
● Hammer
● Right Angle Attachments tool
Materials
● Large Steel
● Pine Wood 2 by 4
● Yellow Pine 2 by 6, 2 by 8, and 2 by 10
● Wood Glue
● Polyurethane
● Wood Stain
● Poly Coat Spray
● Metal Plates
● Tread
● Sandal Primer
● Black Rust-Oleum paint
● Bondo
Part 2: Building Stair Treads and Landing Platform
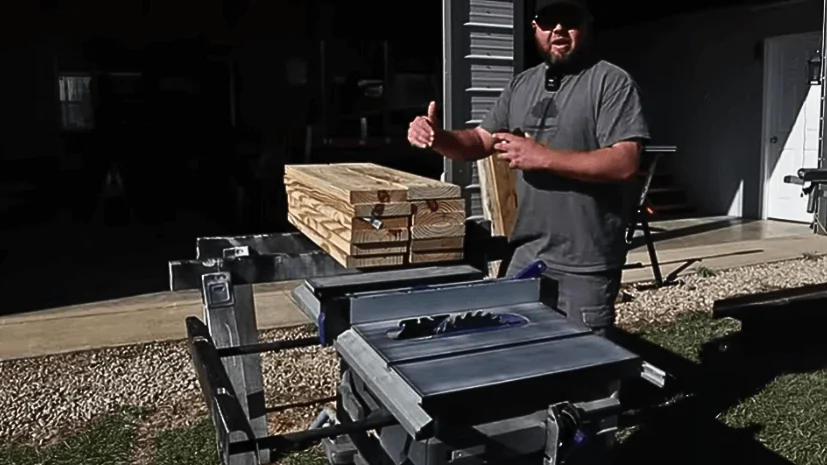
Without further, a do let’s start a custom-built stair rail. It’ll be gone a lot of fun. You can find southern yellow pine wood in South Georgia and Northern Florida if you live in a Florida Southern region. So your home will be adorned with tongue and groove pine panels that are the focal point of the interior. So let’s start it out.
First of all, if you didn’t find yellow pine anywhere, then you can import whitewood from Canada. But you can find the pine in different lengths like 2 by 4, 2 by 6, and 2 by 8.
So let’s rip down 2 by 8 pine wood to make the thickness of a three-inch stair. For this, we’ll make a 36-inch cut.
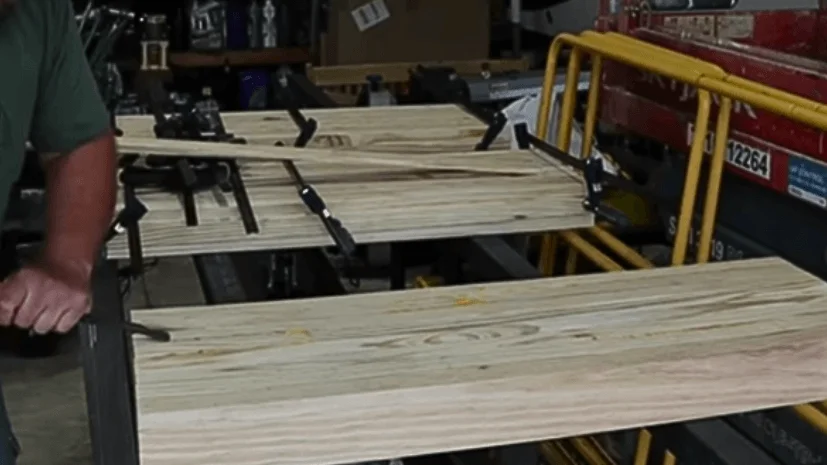
Now rip these in half and then trim off the edges. Basically, you need to do a lot of cuts per piece; it’ll give you flush square-off edges where you need to sand and plain down to make a good-looking laminated piece.
Now after trimming all the wood as per the size you want; now run it through a planer to make each side smooth.
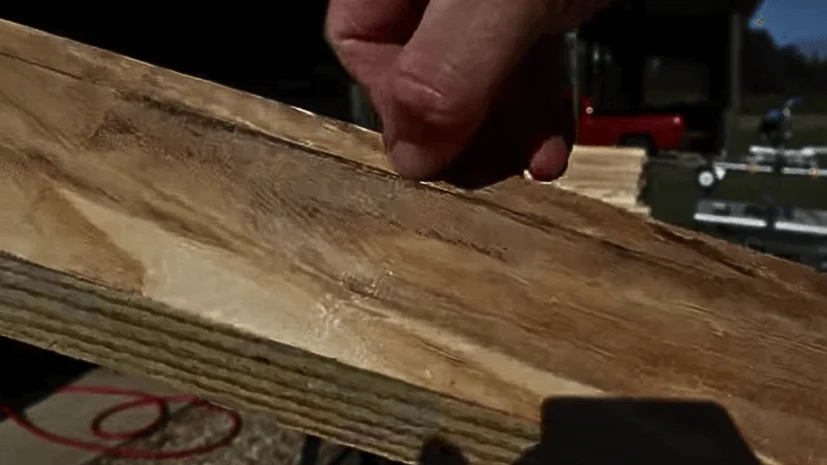
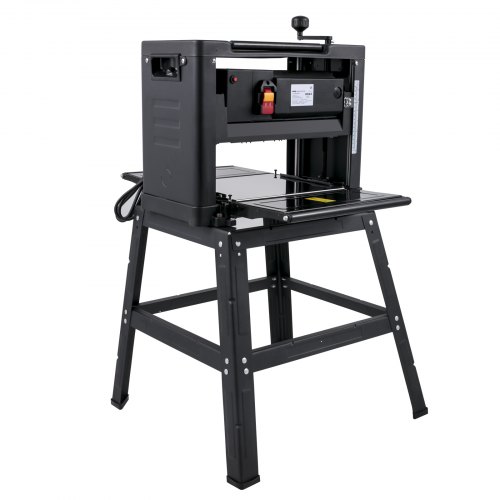
Gluing each wood together. However, as in the picture, wood with big lips and gashes will not stick to another wood. So run that wood to the planer again to get a smooth surface. If you’re looking for a planer, we recommend you buy through VEVOR due to their cheapest price.
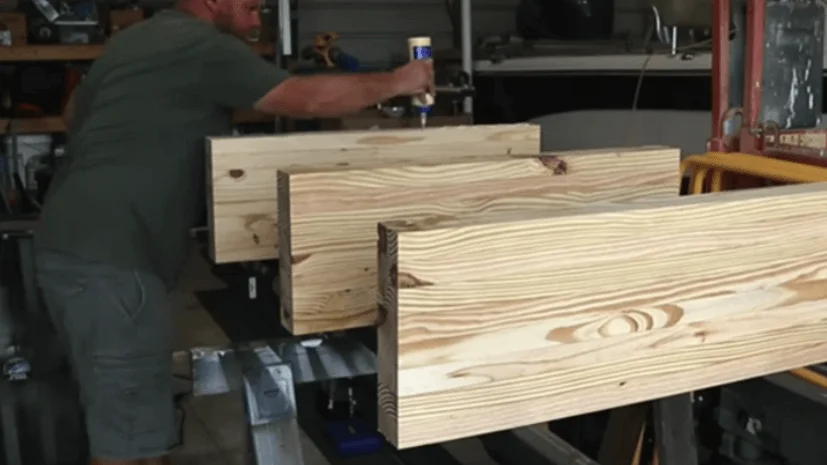
You will need twelve or eleven and a half inches of boards for this project. Firstly, you must take three pieces and glue them overnight; that way, all the edges will line up and look nice. You need to do this twice.
With the help of the applicator brush, add the glue on the surface; don’t pour the glue as it’s. Why shouldn’t I opt for running thread and screw these woods? Because by gluing this, it’ll sit on the metal surface and support it, and many people know this well.
Now after gluing the two wood pieces, glue the third one to clamp it together.
Now you need to clamp the wood strips, which edges you ripped. Glue them and tighten them up with the pile. Just stop clamping the wood when you get the real measurement. Our planer is 12 and a half inches, so we just stopped gluing the wood, and it’s now 12 inches wide. Furthermore, after a night, unclamp them.
With the help of a chisel, remove the glue that is squeezed out on both sides.

Now run your boards through the planer.
When getting the same thickness after planning them, the next step is to chop saw them, square off the ends, and remove any glue or irregularities.
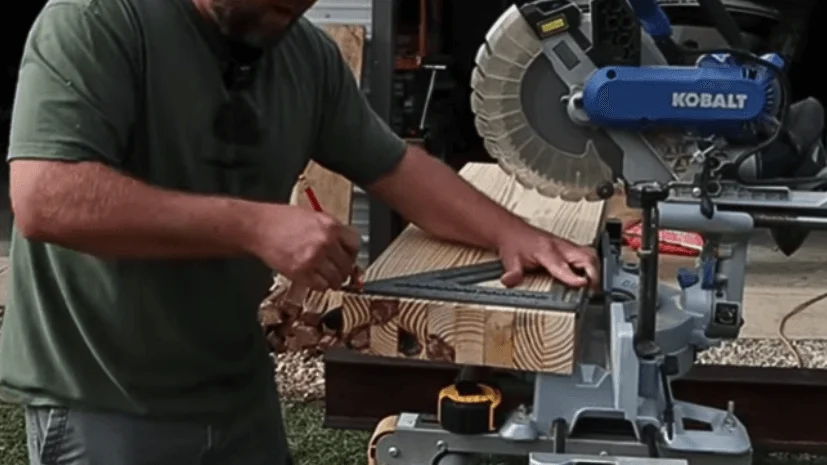
Now with the Woodworking triangle, mark the edges with some knots that give bad structure to the wood.
Again glue all the pieces and leave them overnight after clamping and tightening them, and the next day, remove the glue with a chisel and sandpaper.
If you get any cracks, fill the holes and cracks with the DRS material; it only takes a few minutes to dry. Then sand your board with 220 grit and clamp them.
Again you need to remove the clamps, remove the extra sand, and run it through the planer.
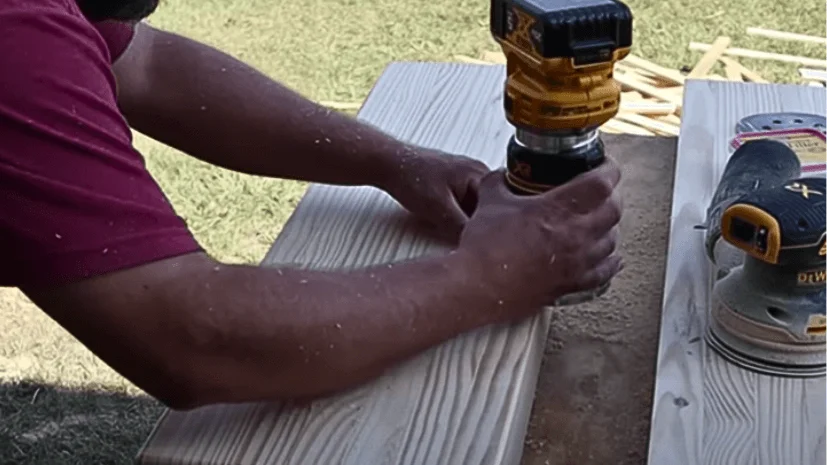
Do a finishing with the cordless router.
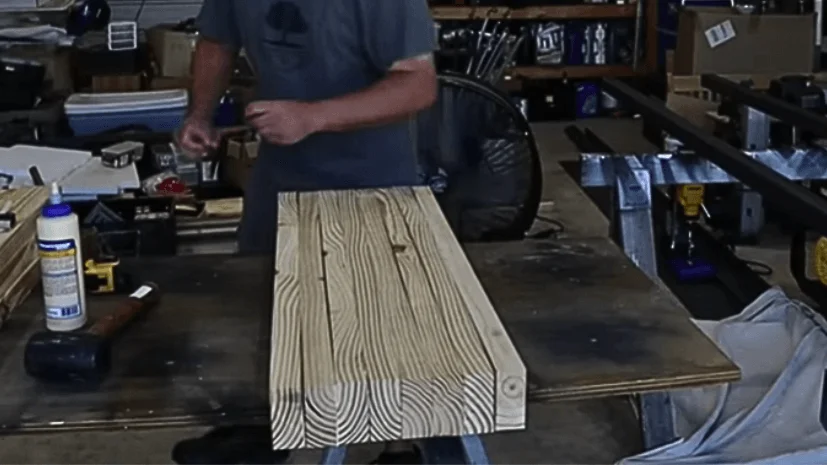
Now you can see this wood is as same as we bought it in its original form. Therefore, if you find yellow pine, just do a ploy coat on wood and follow the same procedure as we did.
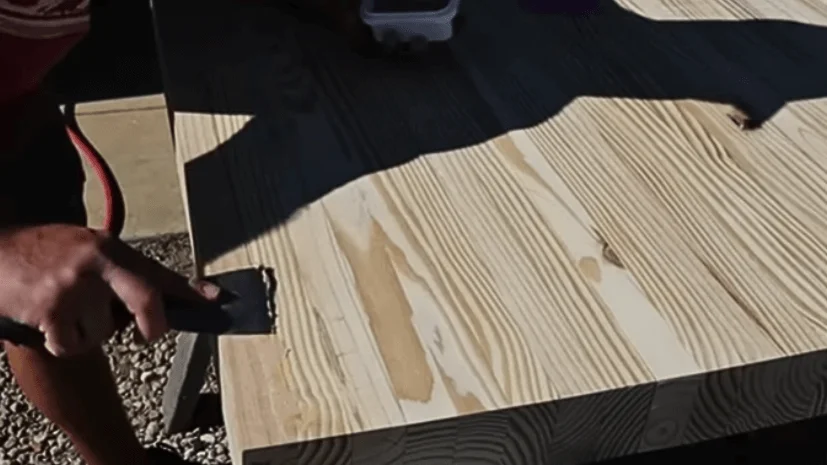
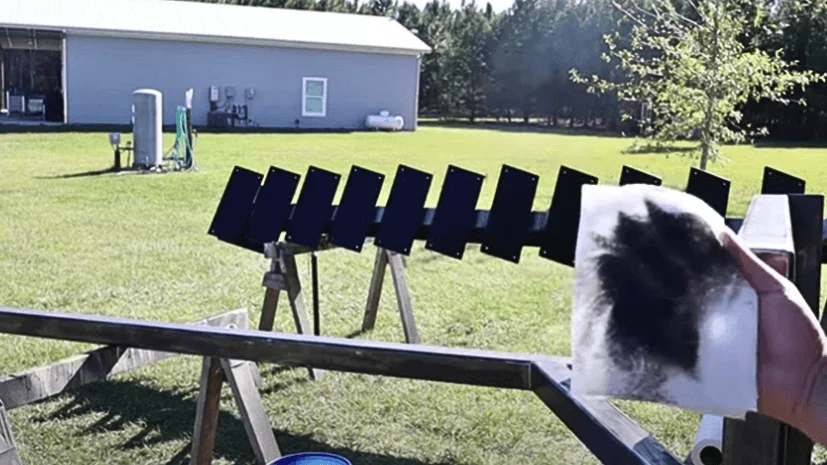
Now with the help of painter plus, we spray the boards and use a Polyurethane spray. Don’t forget the underneath area; these are floating stairs, so you can clearly see the bottom. Usually, vertical spaces need two coatings, so make sure to do an even coating on that. First, spray vertically and then horizontally, and cover all the boards carefully.
You’ll see a golden color on the board, as just you see in the picture. You can choose the base as per your house color and do a double coating if you still see spots on it once it gets dried.
The drying time is fast; you can do the second coating after three to four hours.
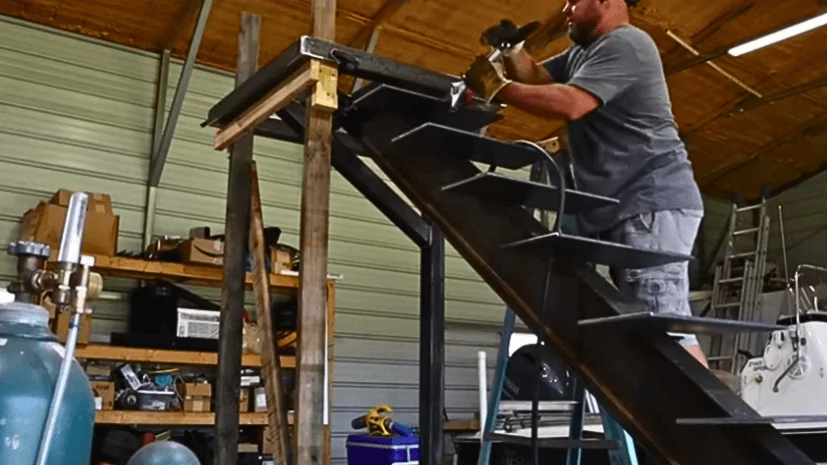
Part 3: Metal Work and Finishing Of Landing Platform For DIY Floating Stair
You will need to concentrate on the metalwork to construct a floating staircase. So need to consider several things, such as cutting steel with different templates and hand tools.
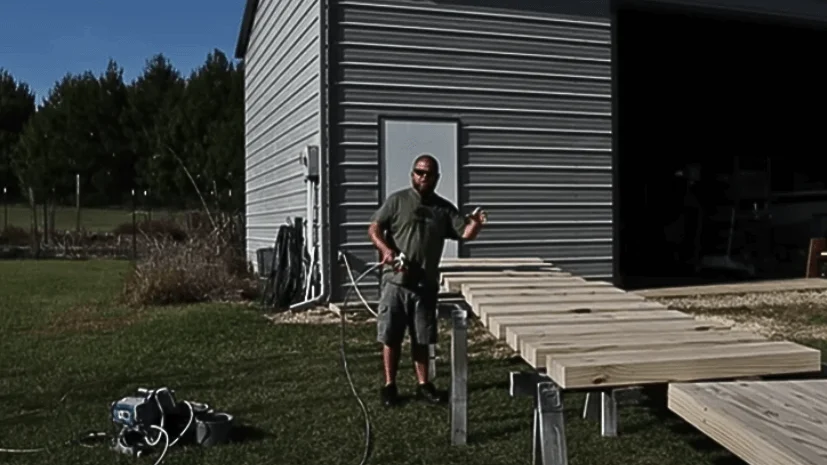
Before installing stairs, just remember that different quarter, space, states, and attic spaces have their own rules, so follow these before installing stairs. But here we’re, following six feet and six inches in height. Furthermore, you’ll notice the same height with a door opening itself.
If you see the post has contact with the concrete slab and go down, weld it and measure the post from the bottom. But we’re down to six feet and made an eight and a half inches line here and then put a brace in it.
You’ll not use the 45-degree brace immediately, but it adds strength. In this case, you will face the challenge of laying the thick steel where the base height is limited to a flipped-over position.
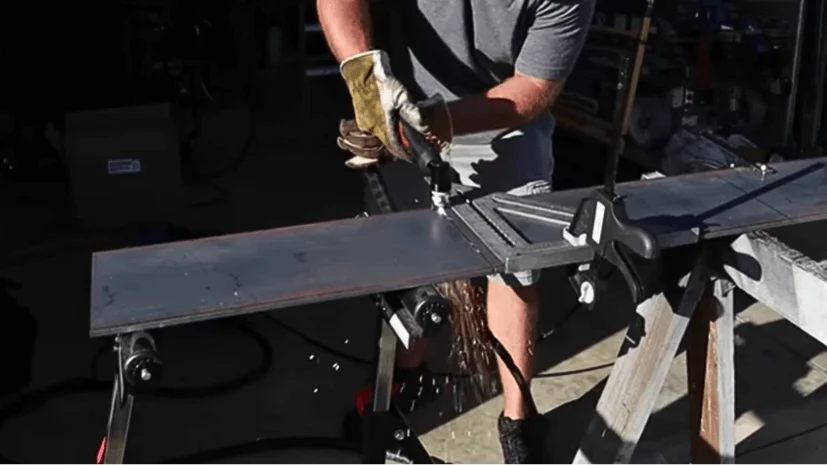
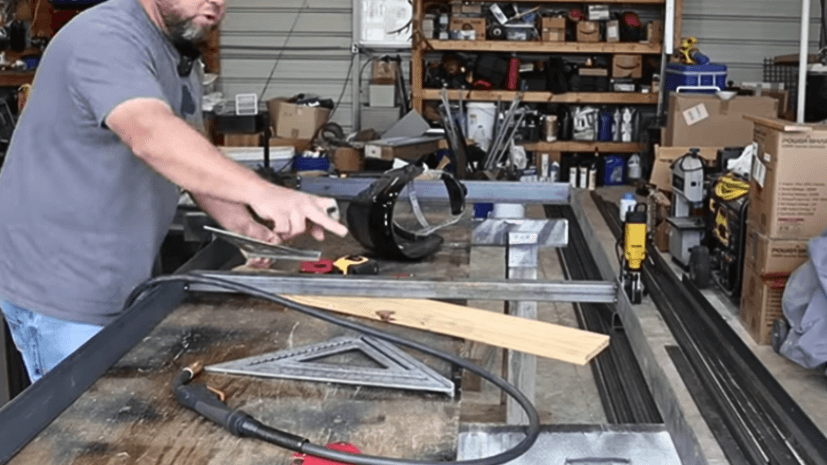
So placing the base will not comply with the regulations, so scrap the wood piece to the desired base endpoint. Take a measurement of 6 feet and 8 and a half inches. To determine the appropriate angle mark the line and create a template. Now transfer this measurement and angles to the steel for cutting. Manual cutting will be necessary if you’ve incredible tools like a chop saw and bandsaw stands.
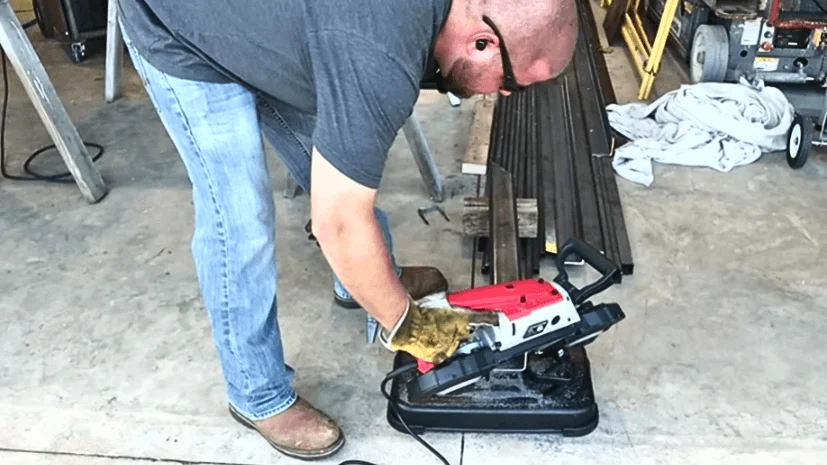
To cut the other end of the steel, you must use a VEVOR portable band saw.

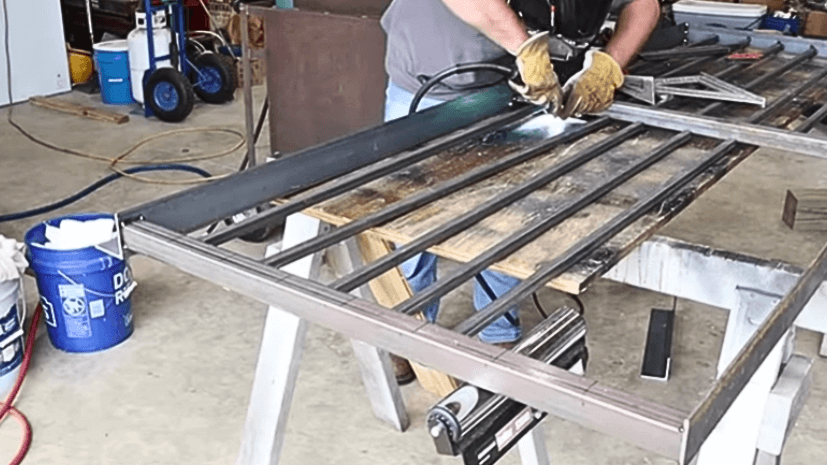
Welded out all the metal pieces.
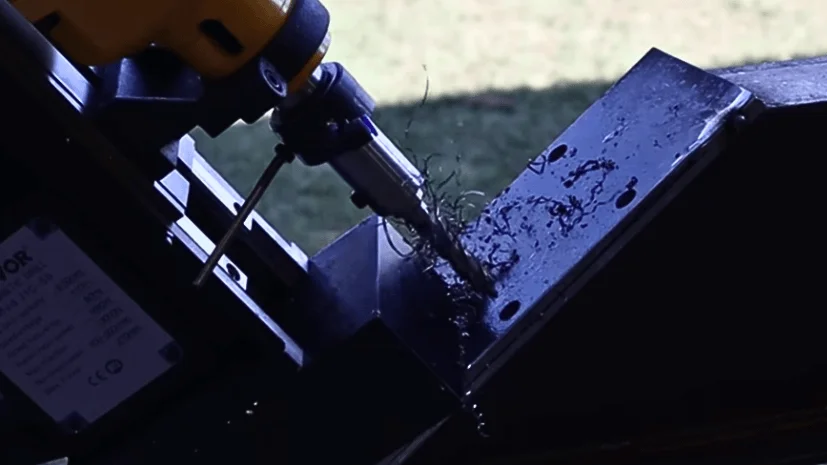
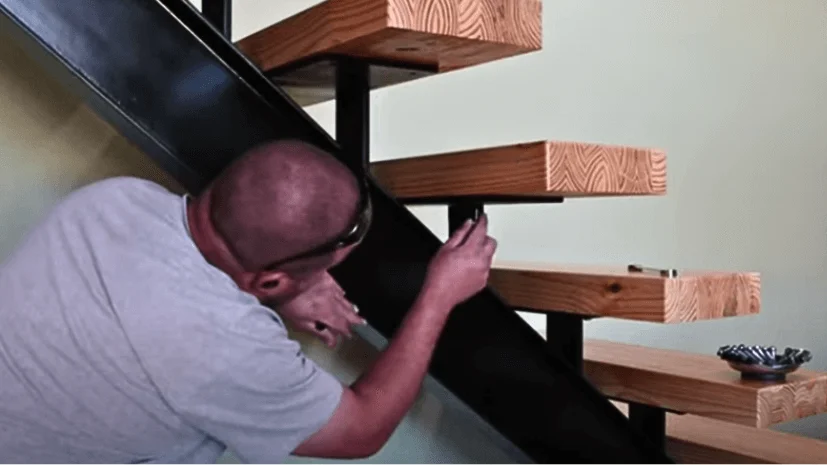
Let’s drill the holes in these plates and set and secure treads using lad bolts.
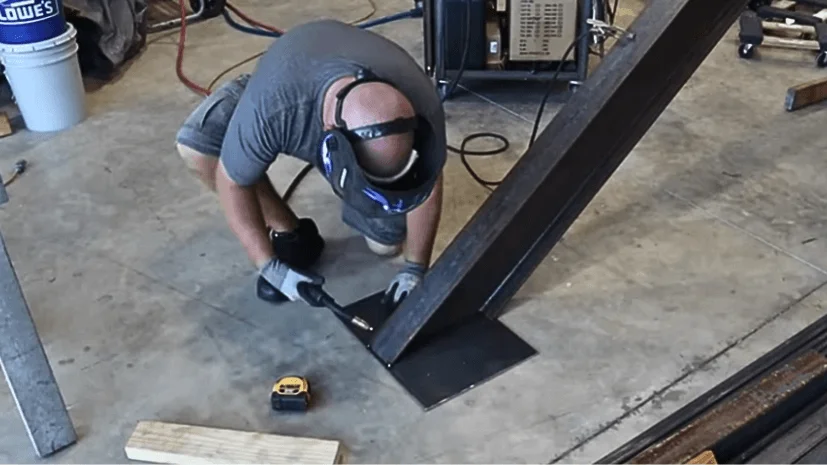
It is now time to weld the feet, or base, of the railing.
Make sure to cut the tons of plates to support the tread underneath the sides.
Now install these metal plates with ranch on a tread.
Cut small sizes metal pieces and fix them below the horizontal plates by welding.
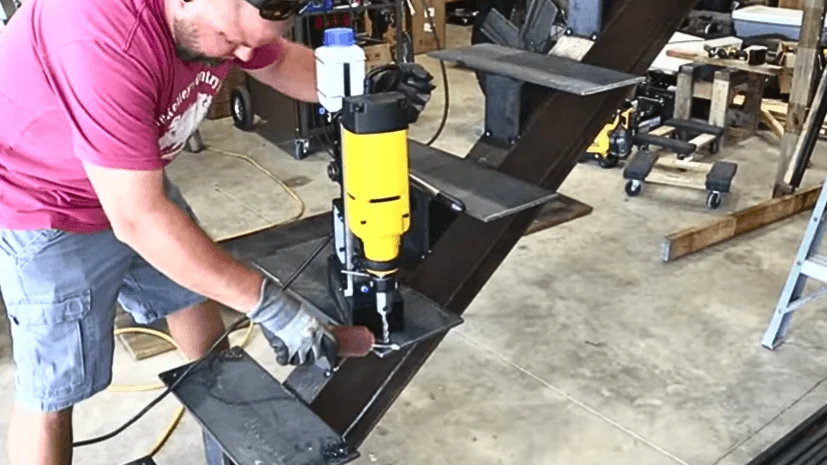
Drill the holes from the edges.
Part 4: Painting and Installing of Wood Pieces and Stair Tread
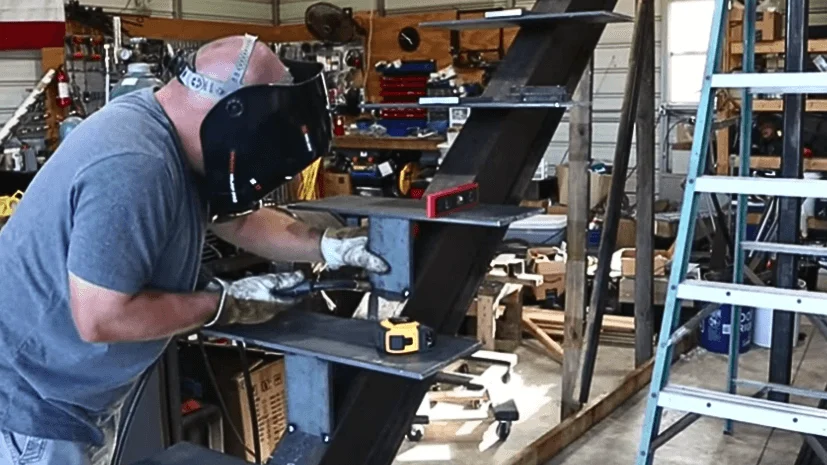
Remove the welding residues using an 80-grit flap disc attached to your grinder. To refine the surface, you’ve to shift to a 120-grit disc.
So before proceeding with painting, you need to do a polishing process and eliminate the remaining weld splatter and lingering rust. For this, you’ll need to do a sandable and high-build primer coating along with blackish rusty oleum paint. This will only need to do on highly visible parts.
Use lacquer thinner to remove oil from the metal, as it removes the extra residue.
Once you remove the metal, you will notice a thick layer of oil and nastiness. Wipe your entire metal piece.
Use Bondo on the metal if you get any cracks in the metal while working. Now after this run a cordless router over a metal piece to make it smooth.
Purchase metal countersinks, as this kit includes a range of sizes to accommodate you. Using these countersinks, you can securely embed thick wood screws, such as those with concave heads, in areas that will bear weight. To ensure protection remove the material carefully so that the screw level is flush with the surface before putting the screw in.
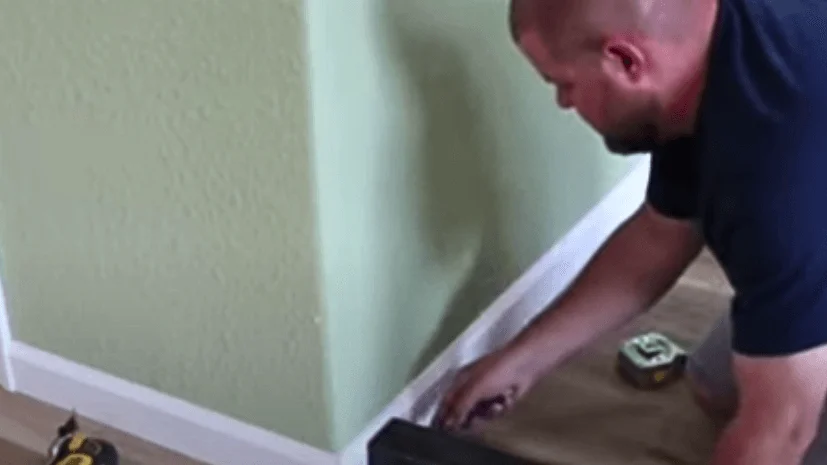
By taking your friend’s help, install a landing platform. You’ll need to cut out some of the trim and flooring for this. To better contact with concrete cutting out the floor. Post if you have a three-by-two-by-four wall to bear the wall. Using long lag bolts to secure it since the two-by-fours are angled. So it’ll allow it to align with a footer on the floor.
Cut and remove the tile from the wall; you can use an old blade without teeth for this purpose. By doing this, your post will make contact with the floor and concrete.

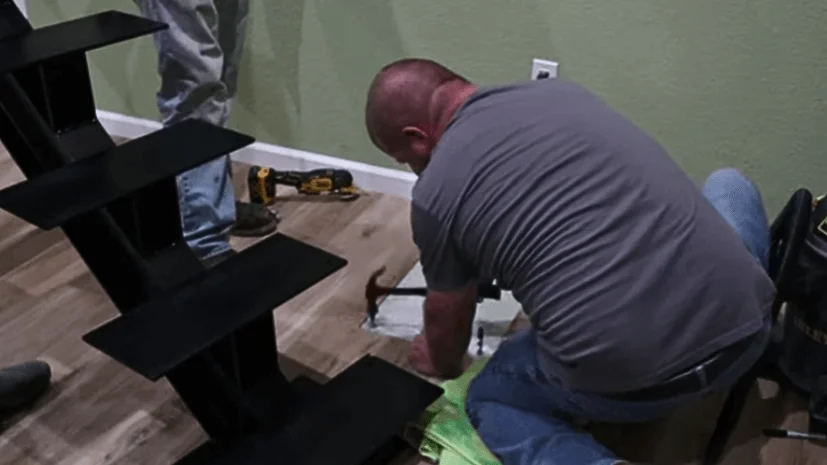
Now put your stair railing in the post and screw them after drilling the holes.
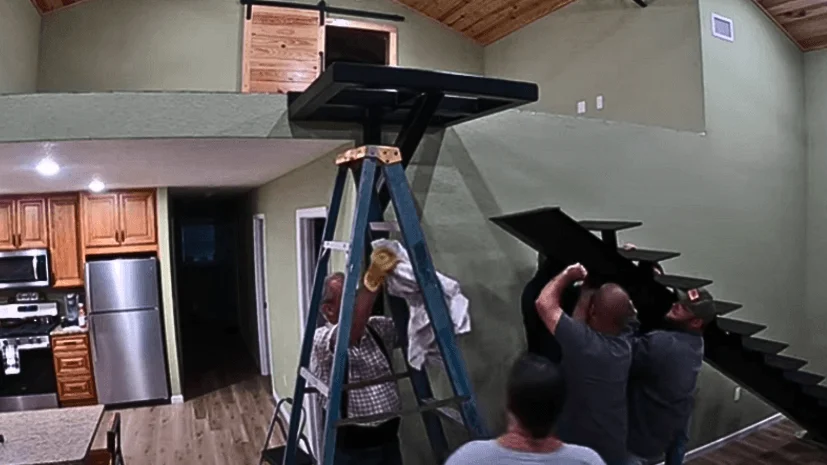
Pull the ladder and use it to fix the stairs bolted to it with a few people.
Mounted the floor against the stairs and fix stairs feet by adding concrete anchors. As for the post, you’ll need to anchor six eight-inch-long lag bolts into the wall within a strong five-inch-deep wooden structure. The floor joists must be secured with log bolts, three sturdy wood screws, and an angle iron edge.
Install the boards and screw them along with a stair. For your stairs not to loosen up, drill holes in the wall and add a board to them.
Part 5: Floating Stairs Railing Installation
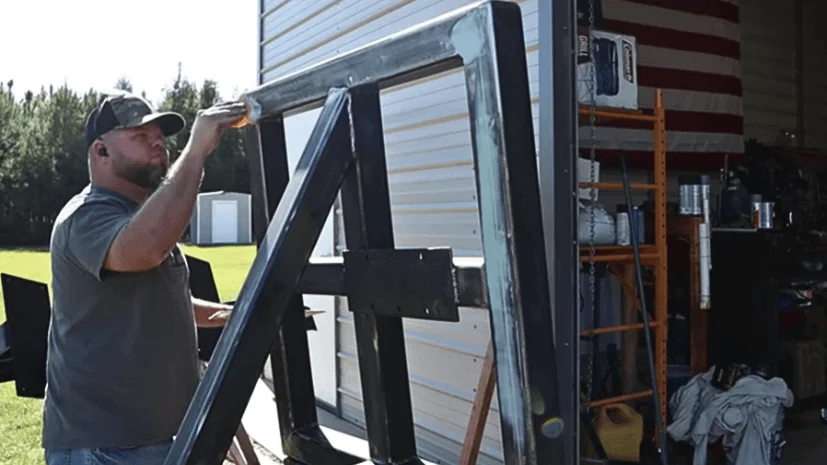
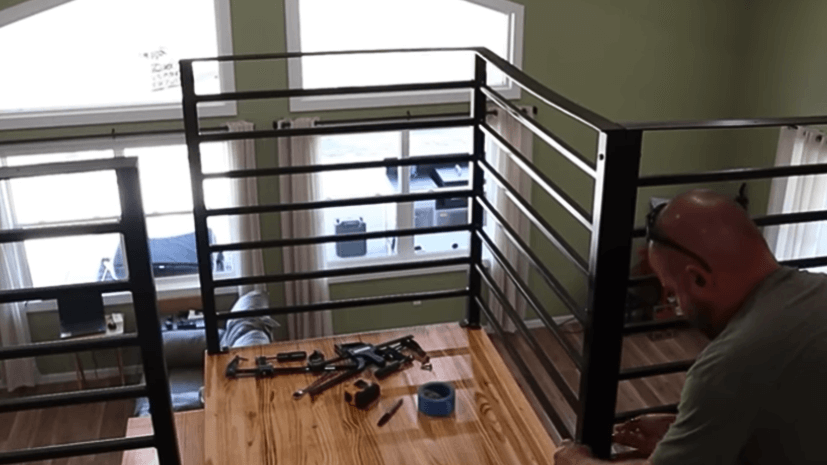
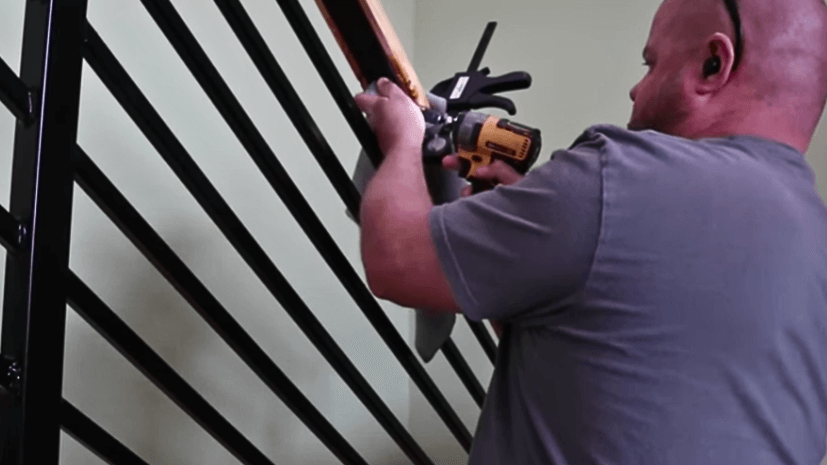
First of all, for horizontal railings laying out the space. In accordance with code requirements, the railings should not have any space that would allow a four-inch sphere to pass through them. This is for both vertical and horizontal railings.
Following the code, you’ll incorporate seven horizontal railings with your designated space. Like in the image, we’re working with a three-quarter-inch square tube. All the welding pieces go in the small sections that never fit out on the doors.
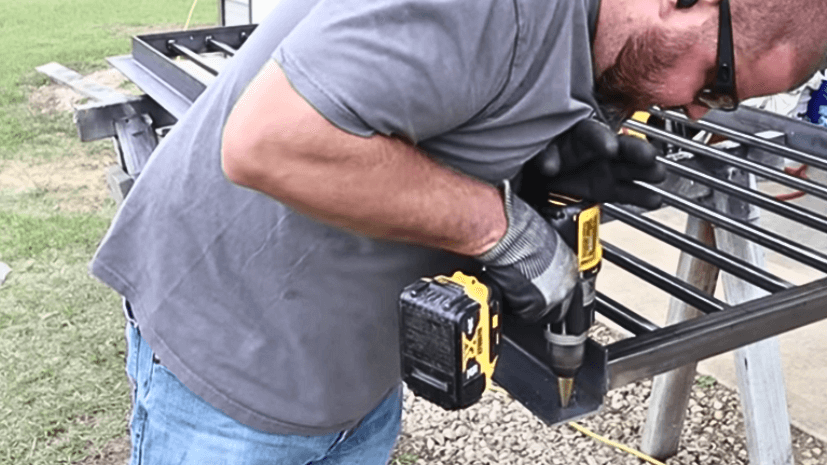
Then drill the holes on the edges of the railings.
If you paint well, then you’ll not see any marks, but black is very reflective, and blemish is bad, so you’ll need a primer to hide a few indentation marks for a smooth finish.
Let’s install the railings, drill holes, and screw them with bolts.
Put three railings altogether and join them through bolts etc.
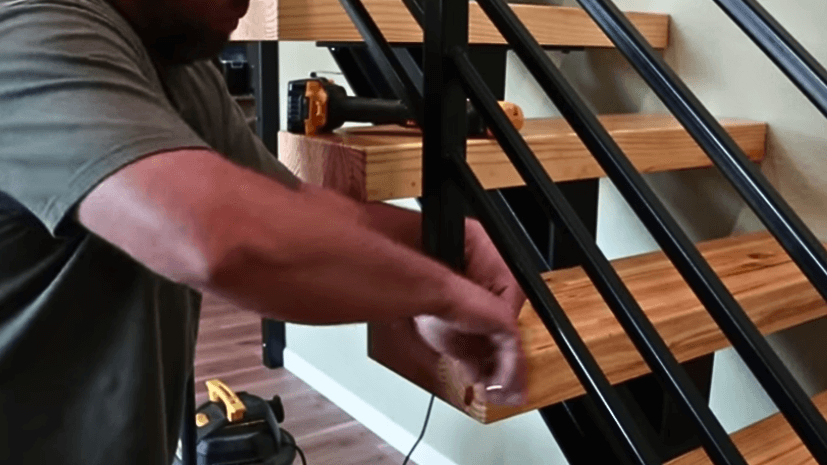
Put the side railing over the boards; fix them in the boards and tighten them up.
Part 6: Wood Caping, Painting & Staining
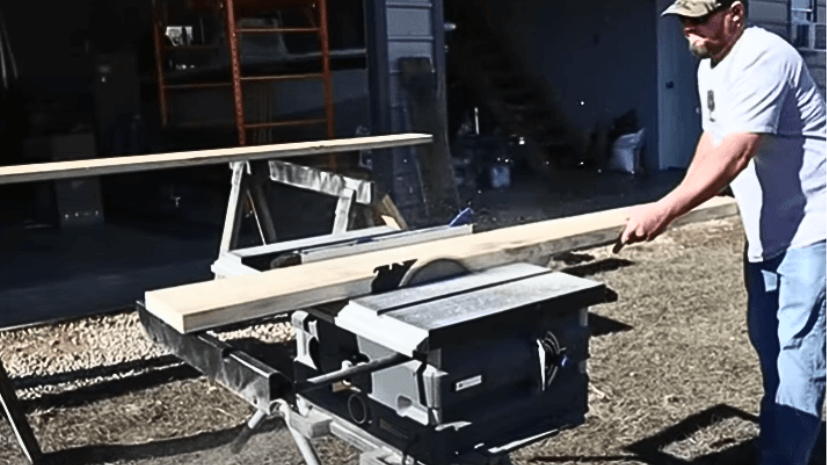
By using the table saw, cut the edges of the wood.
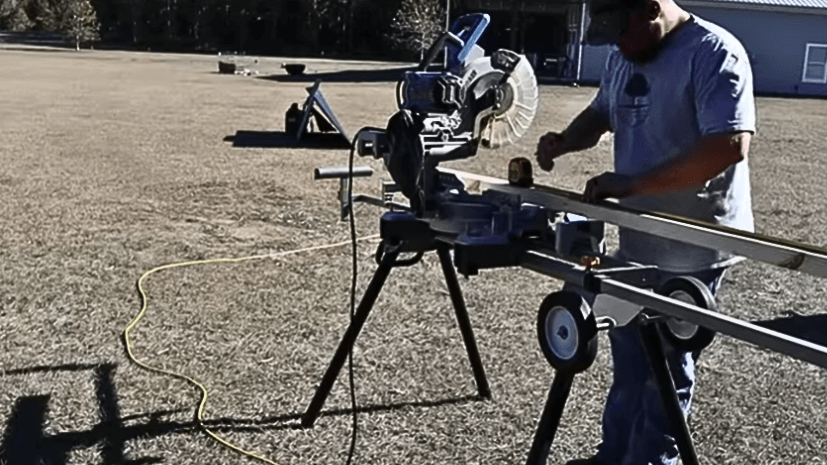
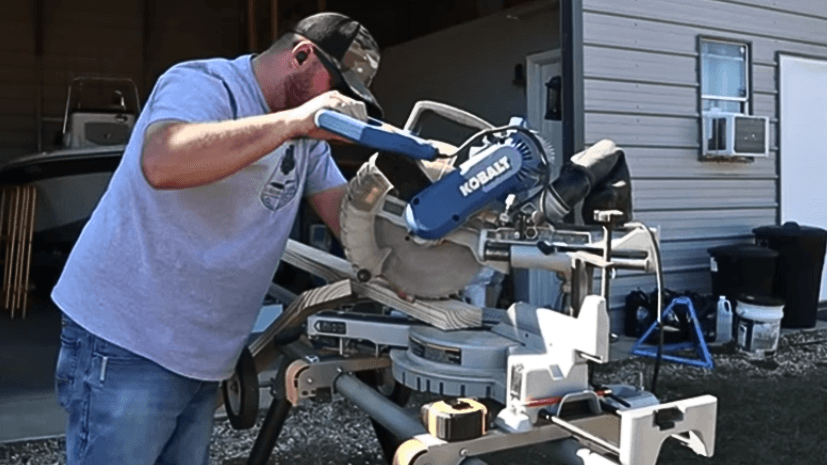
Take measurements and then use Bivel Corded Miter Saw to cut the wood. You can see this lumber has marks on it.
Planning will allow the thickness of this piece of lumber. This VEVOR planer will just change your life if you buy this. So doing this, you’ve to take 1/8 of each side.
Now you can see all the black and rough marks are gone.
Again we’ll cut the pieces and make them to our real actual railing size.
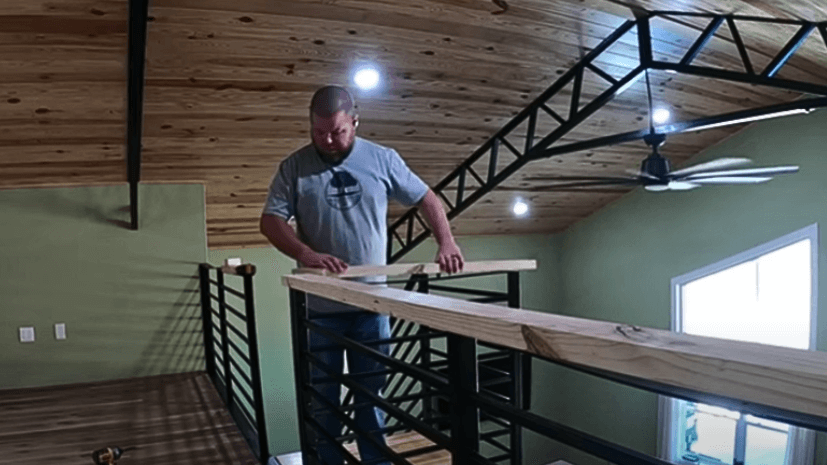
Just roughly put these wood pieces on your railing to see if there is a need for sanding and trimming or not.
Check whether the area is tightening with the right angle attachement tool or not.
Now spray the loft oil over the wood pieces. After spraying, let’s fix these wood caps over the railing. Don’t do a final clamping and tightening until 10 days have passed. After spraying your wood, you cannot do any final coating, trimming, or tightening for 10 days because it makes the wood soft. Even after this, if you do sanding, you’ll create a mess..
Part 7: FAQs about DIY Floating Stairs
1-How much weight can floating stairs support?
It is required that each step of a staircase can bear a concentrated weight of at least 300 pounds, in accordance with the international building code.
2-What is the stability of floating stairs?
If your floating stairs are constructed in compliance with the building code, they are safe to use.
3-Floating stairs are made from what types of materials?
For floating staircases, glass, stainless steel, and timber are the most popular and contemporary materials.
4-What is the durability of floating stairs?
If designed and constructed properly, floating staircases can be safe.
Conclusion
Trust me, everybody loves these chairs, and VEVOR has been very helpful throughout this journey. We hope you like the floating stairs article and learn how to build your own at home. Mostly all the products are available on VEVOR, from planers to welding machines, so you don’t need to go elsewhere. Just browse VEVOR and buy whatever you require for your project.

 Arabic
 Danish
 Dutch
Dutch English
 Finnish
 French
 German
 Hungarian
 Italian
 Norwegian
 Portuguese
 Romanian
 Russian
 Slovak
 Spanish
 Swedish